The transformation goes beyond storage. When cabinetry is designed specifically for your space - your wall dimensions, your ceiling height, your style, your life - the result feels like it belongs to the house. That is the difference between furniture you buy and built-ins that are made for you.
What Makes Custom Built-In Cabinets Different
Off-the-shelf furniture and flat-pack cabinets can fill a wall, but they rarely transform one. The gaps between units, the standard depths that never quite match the alcove, the finishes that almost-but-not-quite coordinate with the rest of the room - these compromises are visible every day.
A custom built-in is designed and manufactured to fit your exact dimensions. There are no gaps between units, no filler strips hiding mismatches, no depth that's slightly off because it's a standard size. Every detail - the crown molding profile, the hardware finish, the depth of the shelves, the cabinet door style - is chosen for your space.
Concept32 Designs builds every piece locally in Boulder County using solid wood construction and premium materials, including dovetail drawers and quality hardware that hold up over years of daily use. This is not mass-produced cabinetry; it's made for your home specifically.
Style Options: What Kind of Built-In Fits Your Living Room?
One of the most enjoyable parts of the planning process is discovering how many directions a living room built-in can go. The right configuration depends on your priorities - storage, display, media, or a combination.
Floor-to-Ceiling Bookcases
The classic built-in bookcase is one of the most impactful transformations available for a living room wall. Open shelving at upper levels keeps the room feeling light and airy, while closed lower cabinets handle less-photogenic storage. This configuration works beautifully flanking a fireplace or wrapping an entire wall.
Entertainment Centers and Media Walls
A custom media wall gives your television a permanent, intentional home instead of a floating presence on a bare wall. Integrated cabinetry around the screen can house equipment, conceal wiring, and add flanking shelves or cabinets that balance the composition visually. Custom depth options mean components stay accessible without the unit protruding awkwardly into the room.
Storage-Forward Configurations
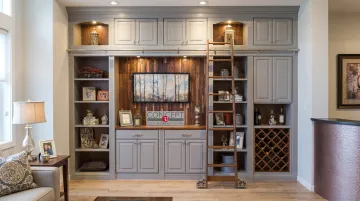
For households that need serious storage - toys, board games, linens, hobby supplies - a combination of closed cabinetry at lower and mid levels, with selective open shelving above, delivers function without sacrificing the design impact. Concept32 can add features stock cabinetry never offers, such as Aventos vertical lifts for equipment storage, built-in wine racks for entertaining spaces, and coordinated pull-out systems inside closed cabinets.
Mixed Open and Closed Layouts
Open shelving invites display and easy access; closed cabinetry keeps clutter invisible. The balance between the two shapes how the room feels - more open and gallery-like, or more calm and contained. Your designer will help you find the right mix for how you actually use the space.
Material and Finish Choices
The materials and finishes you choose determine how the built-in ages alongside your home - and how well it holds up to daily life.
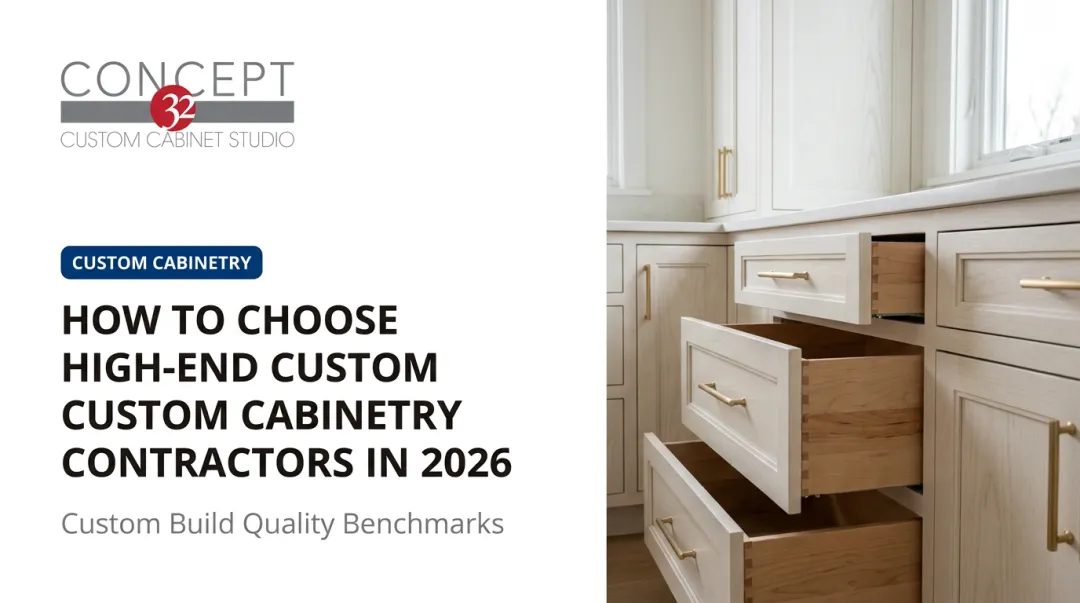
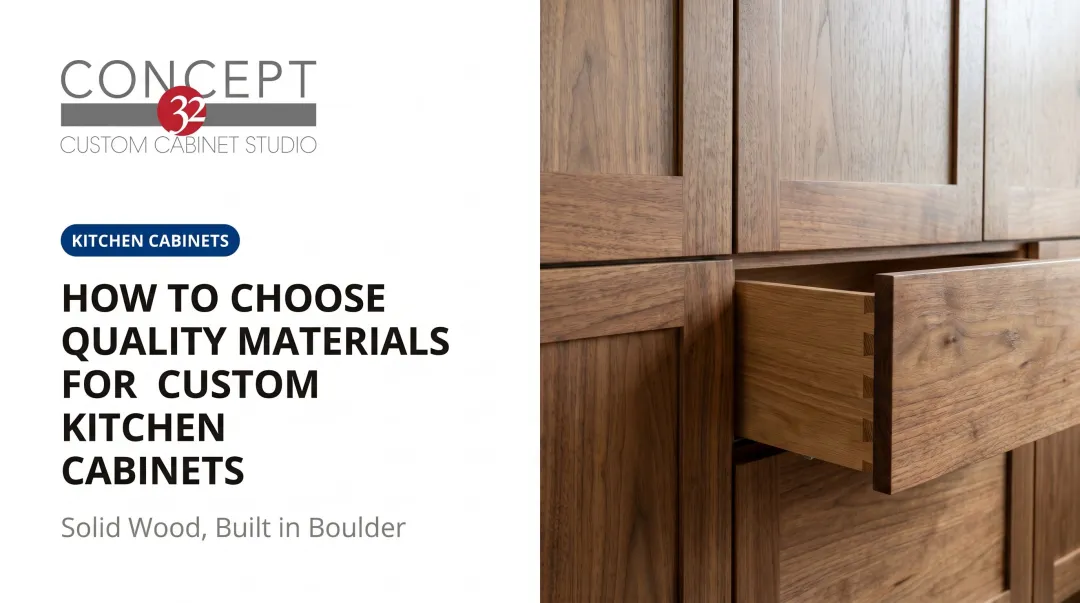
Wood species and construction: Engineered wood with solid wood face frames gives you stability and a premium look. Dovetail drawer construction is a mark of quality that's visible every time a drawer opens; it resists racking and wear far better than basic stapled or glued alternatives.
Paint vs. stain: Painted cabinetry - typically white, off-white, or a soft neutral - reads as clean and contemporary and integrates easily with most living room palettes. Stained wood brings warmth and grain character, working especially well in traditional, transitional, and Craftsman-style homes.
Hardware: Cabinet knobs and pulls are small details with outsized visual impact. A coordinated hardware finish ties the built-in to other metal accents in the room (light fixtures, picture frames, furniture legs). Concept32 helps you select hardware that fits the design direction of the whole space.
Crown molding and trim: This is what completes the "built-in" look - the detail that makes cabinetry read as architecture rather than furniture. The right molding profile, running from cabinet top to ceiling, makes a built-in look like it was built with the house.
Planning Your Built-In: What to Think Through Before You Call
Arriving at your consultation with a few things already considered helps the design process move quickly. None of this requires measuring tape or design partner knowledge - just thinking about how you live in the space.
What does the wall need to do? Is this primarily about storage, display, media, or all three? Do you have a focal point - a fireplace, a window, a TV - that the cabinetry should frame or incorporate?
How do you feel about open vs. closed storage? Open shelves invite display and easy access but require some curation. Closed cabinets keep everything tidy with no effort. Most designs use both - the question is the ratio.
What's your style direction? Traditional rooms often call for raised-panel doors and detailed crown molding. Contemporary spaces tend toward flat-front doors, minimal hardware, and clean lines. Transitional sits comfortably between. Sharing a few inspiration images with your designer goes a long way.
Are there practical constraints? Outlets, vents, thermostats, light switches - these all need to be accounted for in the layout. Your designer handles this during the field measurement visit, but noting any that come to mind is helpful context.
What's your timeline? Custom cabinetry is made to order, so there is a production and installation window to plan around. Your designer can walk you through the current timeline at your consultation.
Why Professional Custom Built-Ins Are Worth It
The comparison that matters most is not DIY-vs-professional cost. It is what you end up with.
A professionally designed and built custom cabinet fits your wall precisely - no filler, no gaps, no standard-size compromises. It is manufactured with materials that outlast flat-pack alternatives by decades. The finish, the hardware, the molding details, and the storage layout are all chosen for your specific space.
Concept32 Designs is a family-owned, woman-owned studio that has been serving Boulder County, Denver, and Northern Colorado homeowners with whole-home custom cabinetry. Every piece is manufactured locally in Longmont using solid wood construction and USA-made materials. The team - all of them experienced designers - works with you from first concept through installation.
The free in-home consultation is where it starts. Your designer visits your space, takes precise measurements, discusses your priorities, and then builds out a design that fits your home exactly.
Frequently Asked Questions
How much do custom built-in cabinets cost for a living room?
Custom built-in cabinetry is priced by scope - wall dimensions, configuration, materials, and finish. Professionally designed and manufactured built-ins typically range from $2,000 to $5,000 for a standard living room configuration, with larger or more complex builds priced accordingly. A free in-home consultation with Concept32 Designs gives you accurate pricing for your specific project.
What is a built-in cabinet in the living room called?
Living room cabinetry is typically called a "built-in," "entertainment center," "media cabinet," or "wall unit," depending on configuration and purpose.
Do built-in cabinets add value to a home?
Well-designed, custom-fit cabinetry is a desirable improvement that adds both storage and architectural character. Storage is a feature buyers actively look for in every room.
How long does a custom built-in take from consultation to installation?
Custom cabinetry is made to order. The timeline from initial consultation through design, manufacturing, and installation varies by scope - your Concept32 designer will walk you through the current schedule at your first meeting.
Can built-ins work in a living room with a fireplace?
Absolutely. Flanking a fireplace with custom built-ins is one of the most popular configurations - symmetrical cabinetry on either side frames the fireplace and creates a cohesive focal wall. Your designer will account for any hearth dimensions or clearance requirements.
Ready to transform your living room? Schedule a free in-home consultation with Concept32 Designs today.